
A box oven is a cheap and easy way to add an oven to your outdoor cooking gear. They are simple to make and you can build as many as you want. If a Dutch oven is out of your budget, a box oven is definitely in your budget and they are so simple to make a Brownie or Cub Scout could build one. Even if you have one or more Dutch ovens, one or two box ovens can add that much more oven power to your camp kitchen. Here’s all you need to build a box oven: a cardboard box, heavy duty aluminum foil, 4 empty cans, and duct tape.
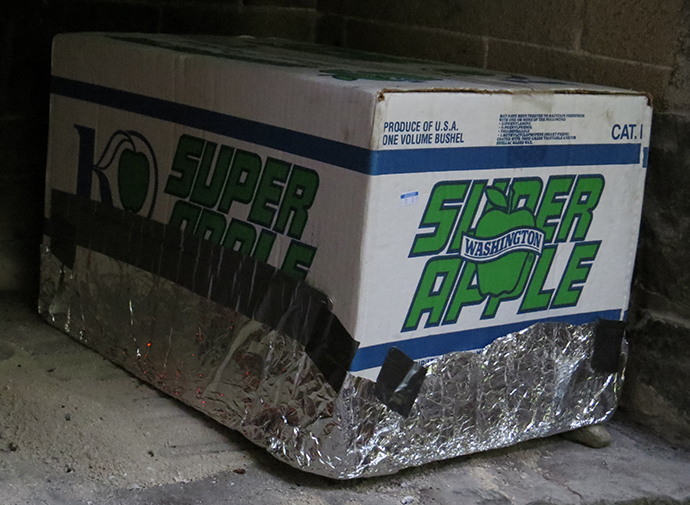
For the cardboard box, all you need is a box that is large enough to fit a cookie sheet, muffin pan, casserole or baking dish, and is about a foot high. Go to your local grocery store and ask for an empty produce box. I prefer apple boxes, banana boxes, and pineapple boxes. You can also use the bottom portion of a box that held reams of paper or you can use any other regular box and just cut the top flaps off. Whatever you use, it will probably be free! The 2 best things about apple boxes are: they are virtually the perfect size for any kind of baking, and you can use the lid and bottom to make 2 box ovens or you can nest the bottom inside the lid for a double layer, making for a better insulated oven!
Use Heavy Duty Aluminum Foil. I prefer Reynolds Wrap 18-inch.
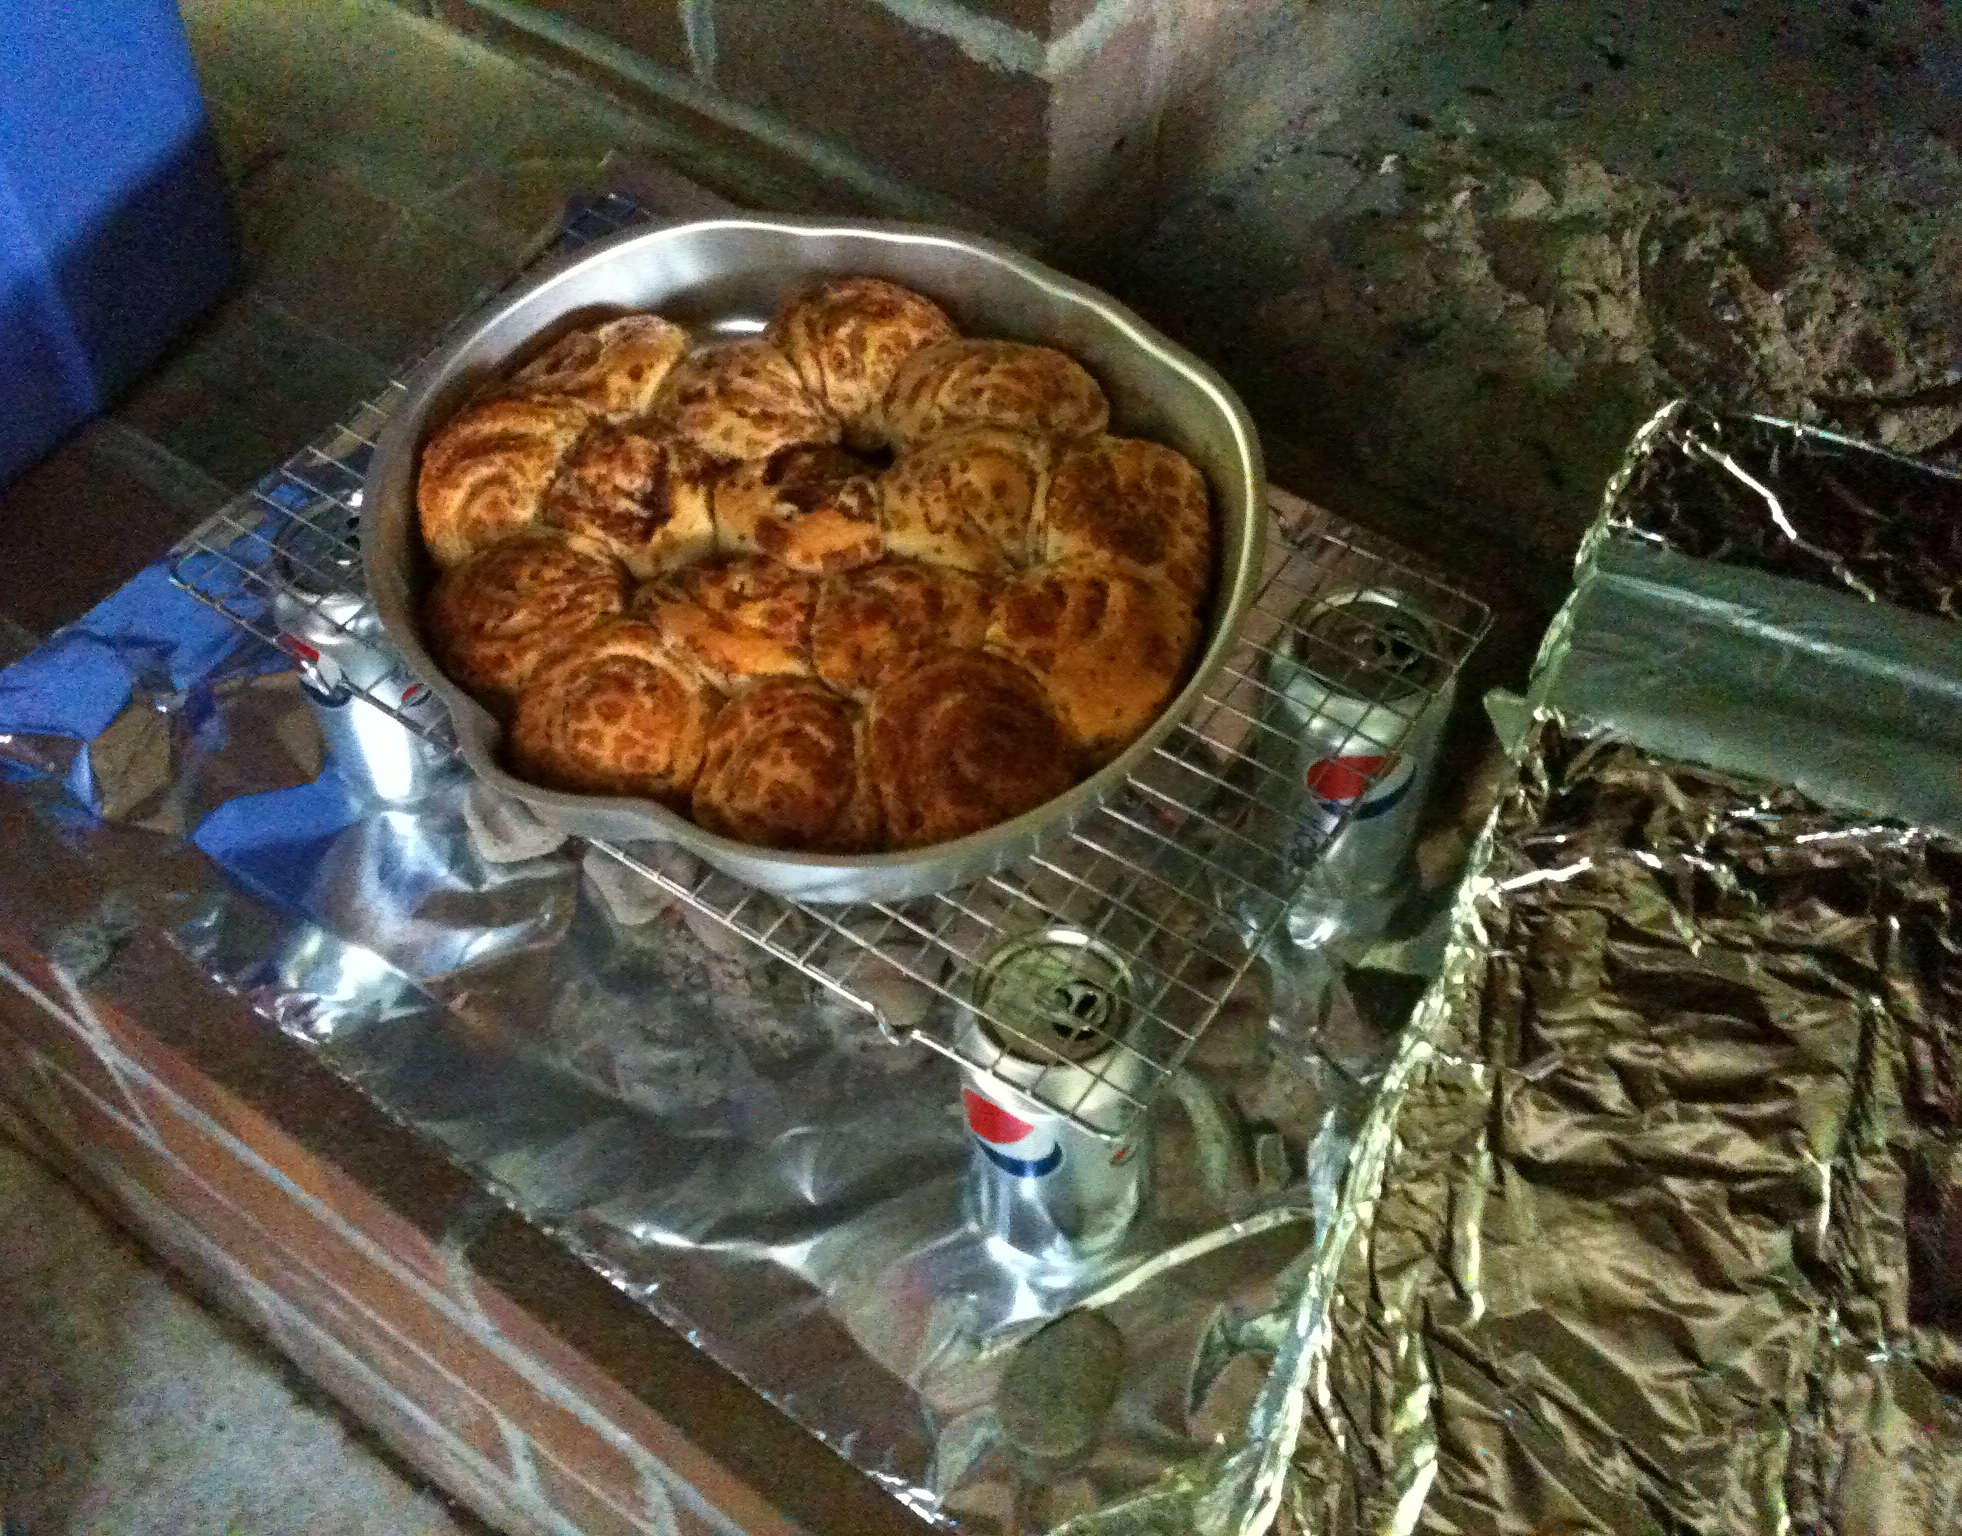
Your cans can be empty soda pop cans, soup cans or juice cans. You just need something that will elevate your baking dish above the coals. I have a little wire rack for cooking over a small campfire that just happens to be the perfect size. But if you don’t have one of those, cans will work perfectly. Keep in mind that the smaller juice cans will place your dish closer to the coals. Conversely, the taller soda pop will place your dish farther away from the coals. To keep your cans more stable, before you bake, fill them with sand.

How to Build the Box Oven
Using the aluminum foil in large pieces, cover the inside of the box completely with foil, placing the shiny side out. I find that using the backs of my hands to press the aluminum foil to the inside of the box results in fewer tears as I’m working. It may take a couple of layers to get all the cardboard covered but it’s important that no cardboard is exposed. Otherwise, you risk it catching fire and going up in a blaze along with your blueberry muffins! Wrap the aluminum foil over the edge and secure it to the outside using the duct tape.
That’s it! You’re done! You now have a box oven. Let’s bake something!
How to Use a Box Oven
Find a non burnable patch of ground or concrete and lay down a piece of aluminum foil, shiny side up, that is larger than your box. In the middle, arrange your rack or your four cans so they can support your baking dish and elevate it on top of the coals.
Prepare your baked dish and prep your coals. Control the baking temperature of the oven by the number of charcoal briquettes used. The average briquette will supply about 35 degrees of heat (a 350°F temperature will take 10 briquettes). If you have to round, I would round up rather than down. If it’s cold outside, you may want to add a couple extra briquettes.
Arrange the briquettes on the aluminum foil under your rack or between your cans. Set your baking dish on the rack or on the cans and carefully lower the box so that it covers everything. Important Note: Use a small rock (about an inch in diameter) to prop up one end of the box to allow in the air that the charcoal needs to burn.

Try not to peak at what you are baking, but if you absolutely must peak, lift the box straight up, peak, and go straight back down. You’ll lose the smallest amount of heat doing it this way.
Optional Extras
Add a window by cutting a hole in your box that is smaller than a Reynolds Oven Bag or take advantage of the hole in the top that is on most banana or pineapple boxes. Cover the box with foil as directed above, making sure to wrap foil over the edges of the hole. On the outside of the box, stretch the Reynolds oven bag across the hole and secure it with duct tape. Now you have a window for peaking.
Add an oven thermometer by punching a candy thermometer into the box so the probe is inside and the dial is on the outside.
As noted above, for added durability and insulation, use both parts of the apple box and tuck the bottom inside the lid for an extra layer of cardboard.
So, if you don’t have a Dutch oven, you can still bake in camp and, even if you do have a Dutch oven, this will add yet another baking option to your camp kitchen. Imagine the looks on your camper’s faces when you serve them amazing fresh baked muffins or biscuits for breakfast out of a discarded cardboard box!
If you like this blog and don’t want to miss a single post, subscribe to Chuck Wagoneer by clicking on the Follow Us button in the upper right corner and follow us on Facebook and Pinterest for the latest updates and more stuff!


Recent Comments