Posts Tagged With: coals

Bakin’ Bacon in a Box Oven

Bacon05_IMG_1010_690px

Saturday was International Bacon Day! Did you fry some bacon while you were camping? I know, silly question. Of course, you did!

Making bacon in camp can be hard to manage because of all the bacon grease. Your griddle or flat-top grill just gets overrun with it. But did you know you can bake bacon in a box oven? Not only does this manage the grease a little better, but also frees up your griddle or flat-top for other fun, like pancakes, hashbrowns or eggs.

We knew bacon could be baked in the oven at home and we had baked bacon in the big camp kitchens, which is a great way to do it if you’re feeding a bunch of hungry campers; so why wouldn’t it work in a box oven at camp? We decided to try it on one of our Girl Scout campouts and it worked! Here’s how we did it:

We lined a rimmed baking pan with parchment paper. The pan must be rimmed or you’re going to have bacon grease everywhere! The parchment paper will help manage the grease. Lay your bacon out on the pan in a single layer. They can touch but not overlap.

Bacon03_IMG_1006_690pxIn a regular oven, you would bake at 375° for 18 to 20 minutes or until it reaches your desired level of crispness. There is no need to flip it. Just let it do its thing. When it’s done, use tongs to transfer the bacon to a paper-towel lined plate.

In camp, in the box oven, we found we needed a little hotter oven. We bumped it up to 425° using 17 coals. I’d also recommend soup or juice cans to elevate your baking sheet, which are shorter and will place your baking sheet closer to the coals.

Our box oven was an apple box, my favorite. For instructions on how to make a box oven, see my blog post, “DIY Box Oven.” An apple box will accommodate a standard 17¼ x 11¼ baking sheet, which will hold about 10 slices of bacon, depending on the size of your bacon. If you are feeding a crowd, you may want a second box oven or you may need to make a couple of batches. If making multiple batches, you can always wrap the bacon in foil and place it near the fire to keep it warm, although I don’t mind cold bacon. I mean, bacon is bacon, right?

Bacon03_IMG_1008_690pxSo, the next time you camp, try baking bacon in a box oven. You may need to experiment a little to find the temperature and time combination that will give you bacon to your desired doneness, but it’s worth every bake, because you’re making bacon! Don’t be so distracted by the magic in your box oven you forget you can have hashbrowns and eggs going on the griddle, while the bacon is baking.

Get out outside and cook something amazing!

If you like this blog and don’t want to miss a single post, subscribe to Chuck Wagoneer by clicking on the Follow Us button in the upper right corner and follow us on Facebook and Pinterest for the latest updates and more stuff!
Categories: Box Oven, Breakfasts, Recipes | Tags: , , , , , , , , , , | 1 Comment

I Want Coal in my Stocking!

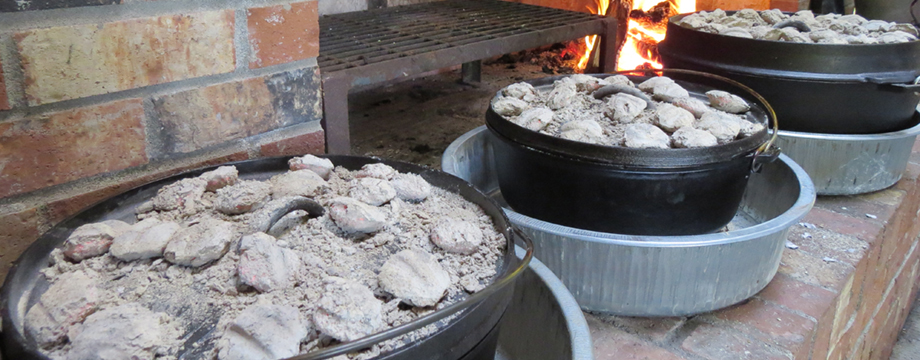
charcoal_bucketsCoals are the life’s blood of Dutch oven cooking. Without them, our ovens would sit cold, empty and lifeless. Coals are the source of our heat, the source of our fire, and we love cooking with fire.

The traditional fire source for cooking outdoors was wood coals from the camp fire. I remember watching old cowboys load their Dutch ovens with ingredients then walk over to the fire and shovel out some hot coals and distribute them on top and underneath the Dutch ovens and declare that to be “just about right.” It always amazed me how they could just eyeball it like that.

Whether you’re a rookie cookie or a champion camp chef, charcoal briquettes offer easier and better heat control. In addition, every year, state and national parks place more restrictions on gathering wood and building open fires. All these are good reasons to use charcoal briquettes.

For best results, use quality charcoal but not a pre-treated, fast-start charcoal. Don’t get the cheap stuff. Quality charcoal will burn longer and more consistently, and can make the difference between a great meal and a meal that is burned or undercooked. I prefer Kingsford Original Charcoal.

I keep my charcoal in 5-gallon buckets. It rains a lot here in the Northwest and even when it doesn’t, we tend to get heavy overnight dew so the ground can be really damp sometimes. The 5-gallon buckets are easier than the bags to carry, store, and transport; and I don’t have to worry about bags getting ripped or soaked while camping in wet weather. The bucket also doubles as a stool to sit on.

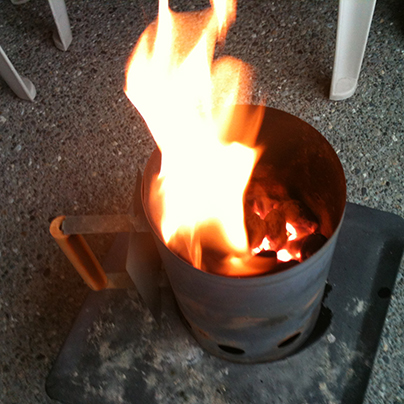
When starting your charcoal, do not use lighter fluid or any kind of accelerant. It will make your charcoal burn too fast. Use a charcoal chimney and either some wadded up newspaper or a couple of fire starters underneath. I place a couple of my homemade fire starters into the bottom of my chimney before I load in the coals.

After I light the fire starters, it takes no time at all before I have fire blazing up through my coals. My coals are ready in 15-20 minutes.

You can find chimneys in most outdoor stores for around $20. Kingsford makes a collapsible chimney for $25.

For more information on how to make your own fire starters, please see my blog post: “DIY: Making Your Own Fire Starters.”

So, just how naughty do I have to be to get coal in my stocking? And, still get that 16-inch Dutch oven under the tree?

Categories: Cooking Outdoors, Dutch Oven | Tags: , , , , , , , , , | 1 Comment

DIY: Making Your Own Fire Starters

01_blazing_chimneyIn my camp kitchen, when I need coals for Dutch oven or foil cooking, I start them in one or two chimneys, depending on how many I need. To get them going, I simply toss a couple of fire starters into the bottom of the chimney, load in the coals and light the fire starters. In a matter of minutes, I have fire blazing up through the chimney and igniting my coals. Coals are ready in about 15-20 minutes.

If you’re having trouble getting a campfire going, you can also nest a fire starter under a pile of tinder and kindling and start it that way.

Fire starters can be purchased in most grocery or outdoor stores, but it’s cheaper to make them on your own. And it’s so simple to do.

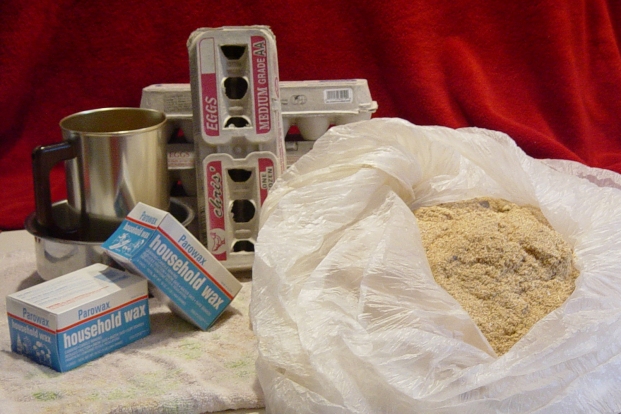
Ingredients

Cardboard egg cartons.

Household wax, which is also used for canning, candle making, etc, and can be found in most grocery stores where you would find canning supplies. You could also use bits of crayon and candle stubs.

Sawdust, wood shavings or dryer lint. I have a woodworking buddy who keeps me supplied with sawdust, but not having someone like that, you could purchase a bag of wood shavings (for animal bedding) at your local pet store.

Equipment

Double boiler for melting the wax. I have an old beat up set that I use strictly for this purpose.

02_equipment

Directions

Start by laying an old towel on your kitchen counter top to protect it.

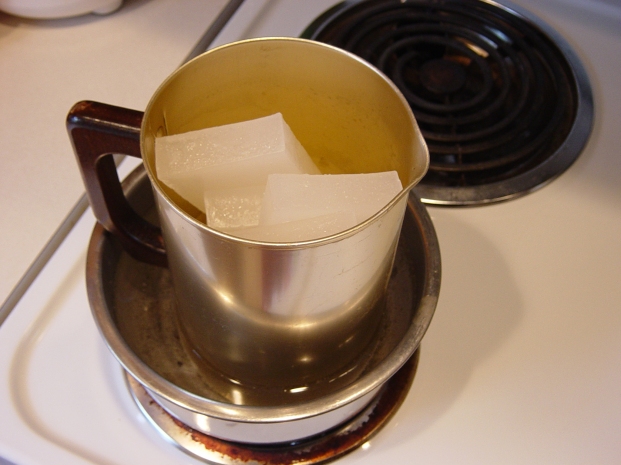
Melt the wax in a double boiler.

03_melting_wax

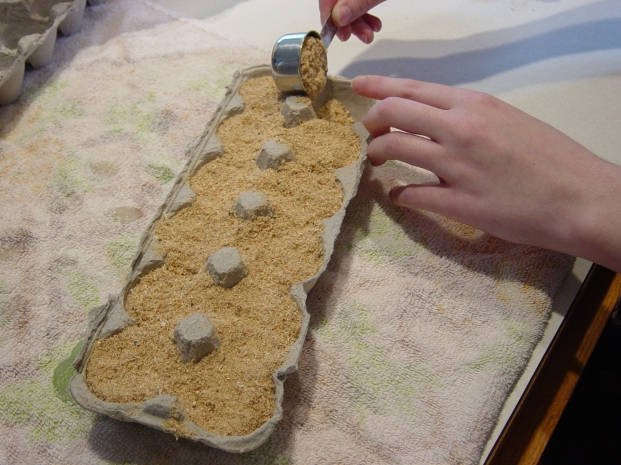
Prep the egg cartons by tearing off the tops and the closing tab thingie (technical term) and fill each little compartment with your saw dust, wood shavings or dryer lint.

04_adding_sawdust

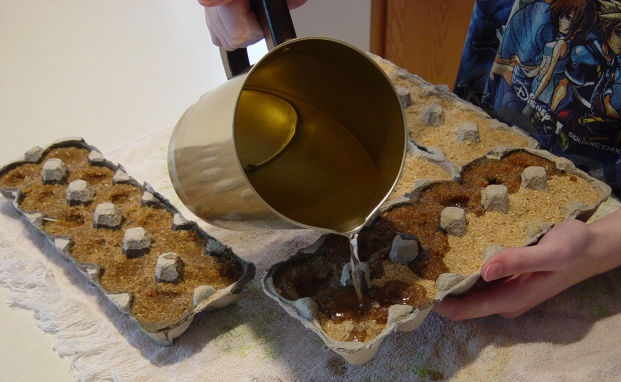
Carefully pour the melted wax into the egg carton, being careful not to overflow the cups. If you’re doing a lot and your wax starts to cool (your clue is if it starts to pool on top instead of sinking in) then just reheat your wax.06_adding_wax

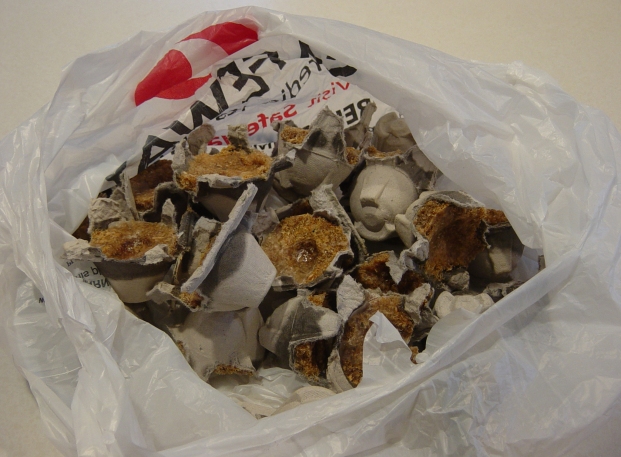
After filling all the little egg cups, allow the wax to cool and harden and then break apart the egg carton. I toss them into a couple of plastic grocery store bags and stuff them into my chimneys in my equipment box.

09_bagged

And you’re done. It is really that simple. Depending on how much cooking and camping I’m doing, I usually end up making them a couple times a year.

Categories: Do-It-Yourself (DIY), Fan Favorites | Tags: , , , , , , , , , , | 4 Comments

Create a free website or blog at WordPress.com.